So my two biggest pet peeves when it comes to riding a bike are 1) a rock hard seat; and 2) a seat that leaks. Being as this particular seat is a Selle Royal mattress saddle (suspended on springs like a mattress; see below) the former is not really a big issue - the seat is rather comfortable. You may think these seats look ugly, but I'd rather an ugly comfortable seat than an awesome seat and hemroids :) Besides, this one's 'vintage' (read: cool).
This seat had some scuffs and tears on the sides, and wasn't up to my standards so I decided to look on eBay for a replacement. Turns out that these seats aren't actually THAT popular. Forget about getting a new one, and a decent used one fetches around $50+shipping, which is more than I'm willing to pay for a used seat. So I decided to try my hand at rebuilding it.

The frame had substantial amounts of surface rust, which is very unsightly, so that would have to get cleaned up. I decided in the end to just paint the whole frame since it was impractical/impossible to clean all the surface rust off the springs etc.

After drilling out 6 rivets that held the seat to the frame, off it came:

The top of the frame was actually in very good condition; too bad no one sees the top when the seat is mounted on it. Oh well, paint it is!

I painted the seat frame with gloss black TREMCLAD rust paint. This stuff is amazing. It sticks to anything, and leaves an awesome finish. AND it's cheap (~$6/can).

The next step was to disassemble the entire seat cushion. This involved cutting through the stiching along the periphery of the seat that held the vinyl seat cover to the moulded plastic seat.

After the stiches were removed, I had to peel off the vinyl seat cover that had been glued in place. This wasn't too difficult as the glue was quite old, and came off easily.

Removal of the vinyl covering exposes the underpadding which consists of a thin sheet of foam covering what appeared to be very similar to carpet underpadding (the omelette coloured stuff in the pic below). Thankfully, the foam padding and underpadding was in very good condition, so I was able to reuse it, instead of cutting out new foam. Since the seat is spring loaded anyway, this shouldn't affect the comfort significantly at all.


New materials for rebuilding the seat/general bike rebuilding. Average cost of each item in this picture was $6. This includes: Tremclad Red Oxide Primer (have yet to use this cause the paint sticks so well without it), 2 cans of glossy black, 1 can of clear (for clear coat tests later), 1m^2 each of black textured vinyl and white textured vinyl, and about 0.5m^2 of thick foam - which I didn't need after all.

I then cut out the seat parts after tracing them onto the new vinyl sheet that I purchased. Using our sewing machine, I stiched the sides and top together carefully. Since the bike is going to be black with white accents, I thought it only appropriate to make the seat two-toned. I think it looks much better than the stock seat did in solid black.


This is just a hand held test fitting to see roughly what the seat will look like. It will look much better than this in reality because the vinyl will be stretched around the moulded plastic seat.


I decided to use contact cement (also about $6) to glue the vinyl to the moulded plastic seat. It is really good for this application since it bonds instantly, and is flexible when dry. And it smells good; which is a bonus since I like huffing glue...just kidding :P I clamped the seat cover on before glueing it to make sure it was aligned properly. Then I glued it bit by bit.

With contact cement, you apply some to both surfaces you want to join, let it dry, and then (within an hour or so), you join the two faces together for a secure bond.

Work in progress...check out the nicely painted steel seat frame!

The seat was entirely glued yesterday, and I'm letting it set all day today before removing the clamps (just to be sure since the vinyl is under tension; I don't want to take any risks of it loosening up). Tomorrow I'm going to take it to the local shoe repair guy who said he can probably recreate the stiching around the periphery of the saddle (through the plastic and all). I hope he can...I'll post the final pics of the seat as soon as it is finished!


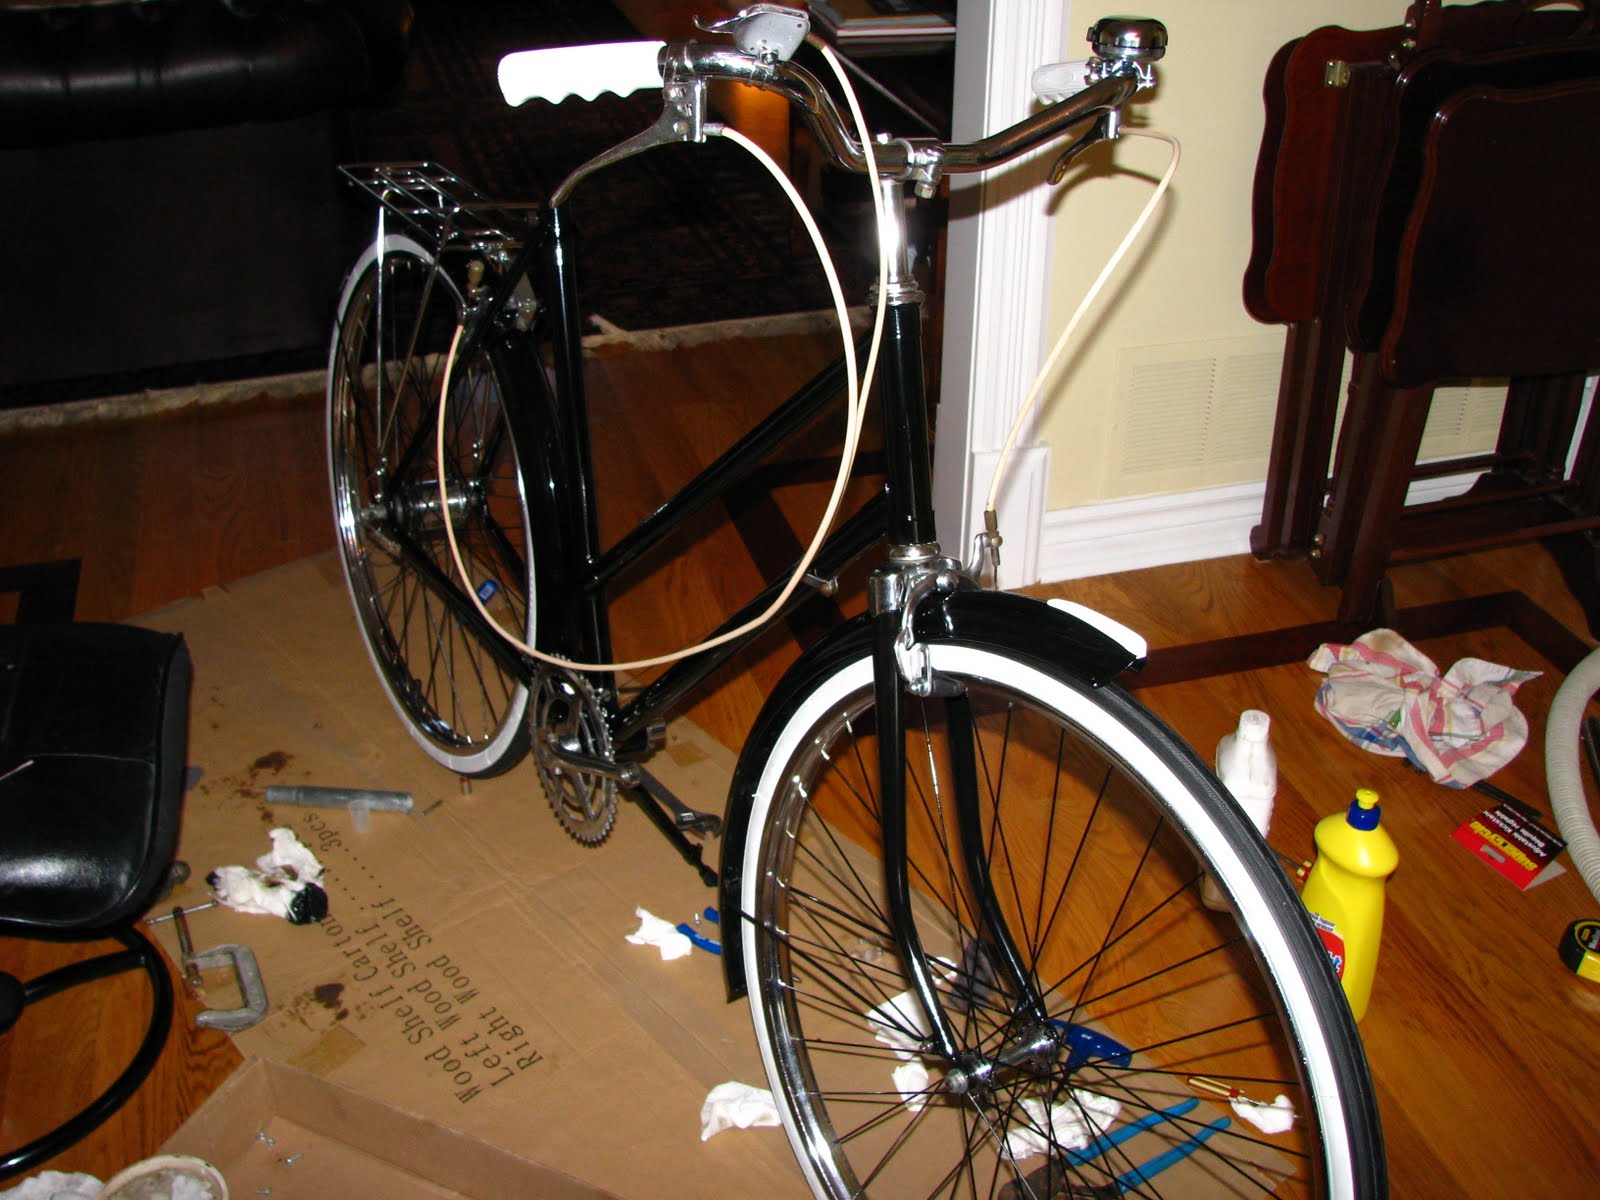


 The rims were also cleaned with a combination of degreasing spray, steel wool, and finished off with chrome polish before lacing with the freshly painted spokes.
  New DURO whitewall tires were purchased online from a bike shop in California called Junky Rusty Bikes. They were $10 a piece (tire size: 26" x 1 3/8"). Shipping to Ontario was reasonable, although still more than the cost of the tires (~$25).


